progression
What to Do After The Elder
Use the Swamp Key correctly and prepare for the game's first major difficulty spike.
Field note
Direct answer
After The Elder, use the Swamp Key to open crypts, but brew poison resistance and place a safe portal before farming iron.
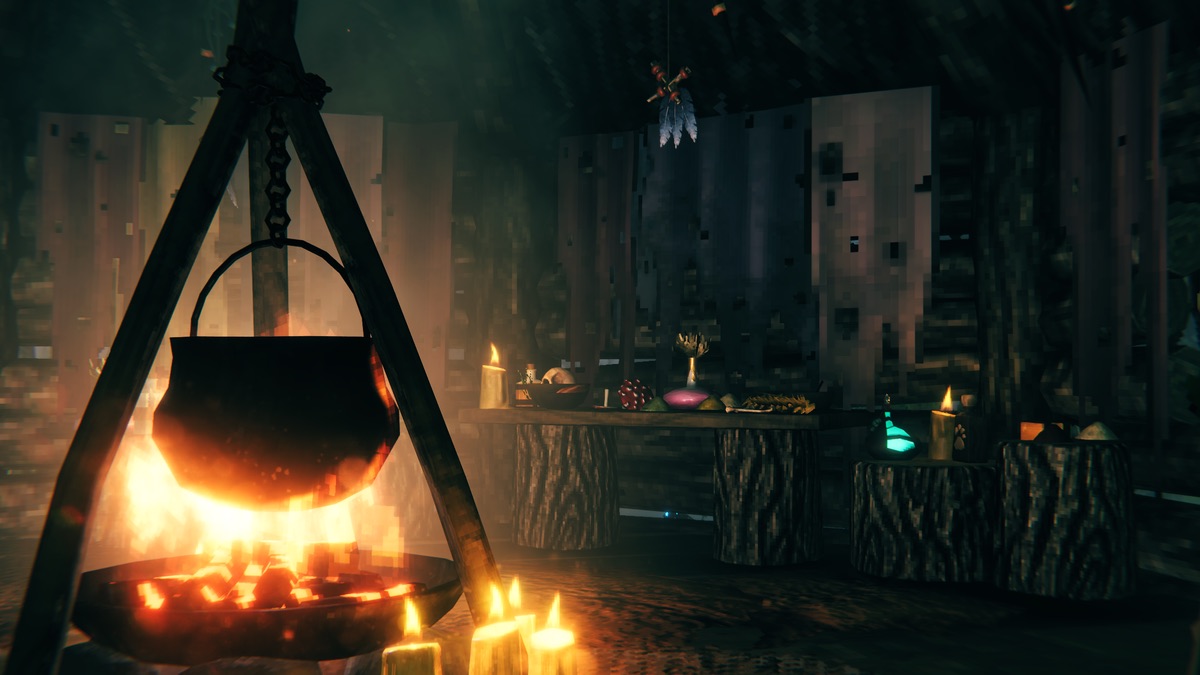
Route card
Fast path before details
Do not rush into the first swamp you see.
Scout for a swamp with multiple crypts.
Place a portal on safe ground outside the biome.
Use the Swamp Key to open sunken crypts.
Do not spend the Swamp Key immediately
The Swamp Key unlocks sunken crypts, but the real gate is preparation. A rushed first crypt run often turns into repeated corpse recovery because poison, wet stamina, draugr archers, and leeches stack pressure at the same time.
- +Return home after The Elder, repair gear, store the key, and brew poison resistance before the first serious trip.
- +Use the key on a swamp with multiple crypts if possible; one isolated crypt is rarely worth a dangerous base move.
- +Treat the first visit as scouting until portal placement, shoreline access, and retreat paths are confirmed.
Choose the right Swamp edge
A good Swamp entry starts outside the biome. Meadows or Black Forest ground beside the swamp gives you a safer portal, a cleaner corpse run, and room to pull enemies without fighting knee-deep in water.
- +Sail around the biome before landing if the first shoreline is packed with leeches, draugr, or deep water.
- +Place the first portal on safer neighboring ground, then walk into the swamp with rested buff and poison resistance ready.
- +Mark crypts, turnip seeds, surtling spawners, and bad landing zones immediately.
First crypt priority
The first crypt should solve progression, not fill every inventory slot. Clear the entrance room, control each doorway, and mine scrap piles in small chunks so the crypt stays useful as a shelter and recovery point.
- +Bring enough pickaxe durability or portal access for repair before committing to a long crypt route.
- +Ship scrap iron home later; use the portal for food, meads, repairs, and non-metal loot.
- +Aim for iron mace and food upgrades before thinking about a full iron shopping list.
Recovery plan before greed
Swamp deaths get expensive when the portal is exposed or the ship is parked in a bad place. Before hauling iron, make sure a naked recovery run can reach the portal without crossing the worst part of the biome.
- +Keep backup food, poison resistance, and a spare shield or weapon at the home-side portal.
- +Do not leave the only ship parked beside leeches and draugr if you still need it for metal transport.
- +Leave early when rested buff expires; staying too long is the usual reason a good run becomes a corpse run.
Checklist
- +Brew poison resistance
- +Find a safer swamp edge
- +Place a portal outside
- +Open crypts
- +Ship iron home
Step-by-step plan
- +Do not rush into the first swamp you see.
- +Scout for a swamp with multiple crypts.
- +Place a portal on safe ground outside the biome.
- +Use the Swamp Key to open sunken crypts.
- +Prioritize iron mace and better food before Bonemass.
Common mistakes
- +Entering with no poison resistance.
- +Putting the portal inside a dangerous swamp pocket.